Sunday 24 July 2011

Advance Layering

hihi
the blog is about advance layering.
due to my cs4 got problem, i using cs5 to do my final 
 E-wallpaper.
here are some step
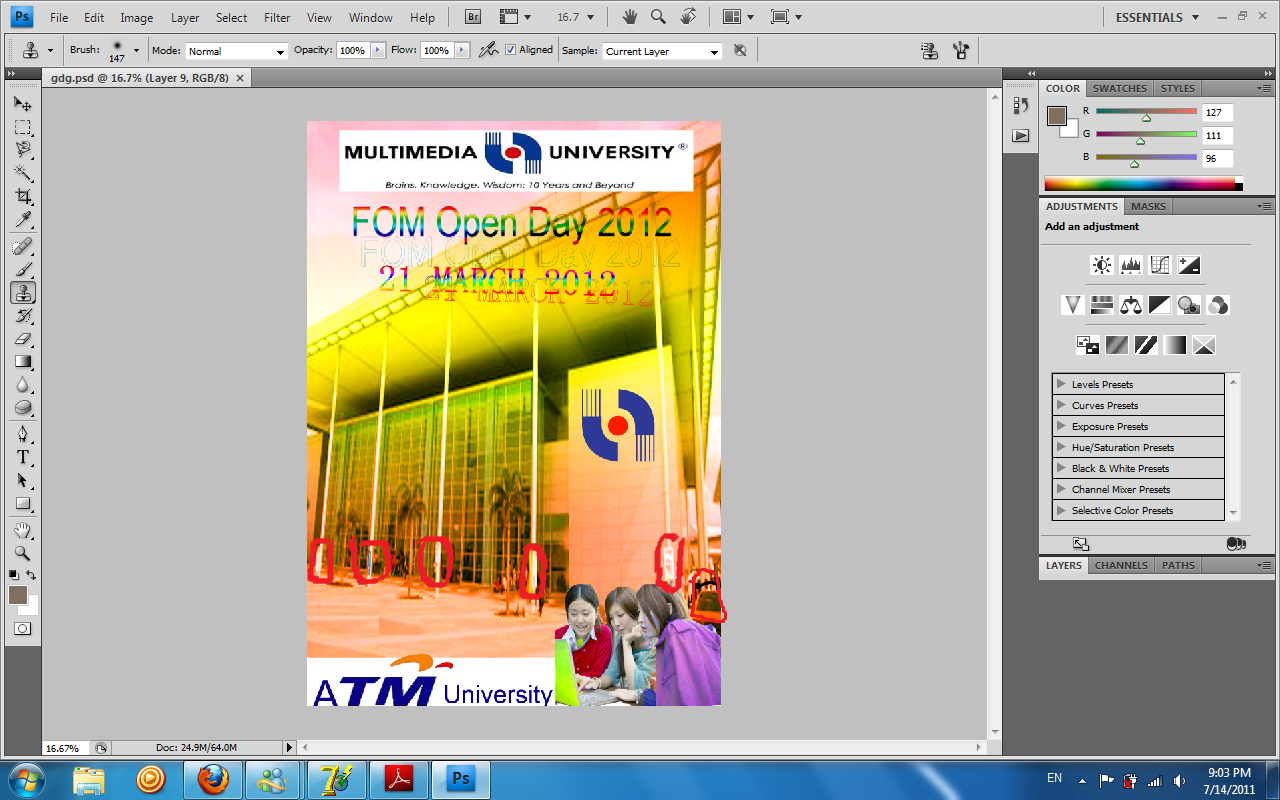
In the Vanishing Point, use the "Create Plane Tool" to draw at the building mmu, after that press "ctrl+V", the MMU text will appear, move it to the box.
Using the Create Plane tool , click each of the four corner points of the main
wall of the mmu building. Click just under the white trim where the red siding meets it,
and over the ground in the lower right corner, to define the size and shape of the
perspective plane. As you click, a blue outline appears. When you finish,
Photoshop displays a blue grid over the plane that you just defined.
After that,  Press Ctrl+V  to paste the contents of the
clipboard onto the grid. This action automatically selects the Marquee tool in the
Vanishing Point dialog box.Then, Using the Marquee tool , select the contents and drag it to the center of the
front perspective plane so that most of the artwork appears on the front panel,
but wraps around the side and top. It’s important to place the artwork on the
front panel, so that it wraps correctly.
then, im using tthe box to fill it up my detail of the open day. using the move tool move the box inside it
then using the step tat at first.....use the move tool to move mmu logo inside the box. after that use the vanishing point to Square the box.....
Using the Marquee tool , select the contents and drag it to the center of the
front perspective plane so that most of the artwork appears on the front panel,
but wraps around the side and top. It’s important to place the artwork on the
front panel, so that it wraps correctly
after that type the date of mmu open day on my final E-wallpaper.
Done...Complete ^^


Thursday 14 July 2011

retouching skill and enhancing digital

A very goood day for everyone,
At tutorial class, i had learned retouching skill and enhancing digital photographs
let me share some simple and easy skill.......


Click the Color Balance button in the Adjustments panel. In the Color Balance panel, select Midtones for the Tone, and select Preserve
Luminosity at the bottom of the panel. Shift the sliders to balance the color in the image. We moved the top slider to -69, the middle slider to +38, and the bottom slider to +82.


next is replacing color on girl jacket
1) zooom in the girl jacket clearly then using Rectangular Marquee tooland draw a selection border around
the girl jacket. Don’t worry about making a perfect selection, but be sure to
include all of the jacket, and try not to include the girl face

-use the Add To Sample eyedropper  to sample other areas of the jacket
-In the Replacement area of the Replace Color dialog box, drag the Hue slider to-135, the Saturation slider to 93, and the Lightness slider to 13.


these two picture using the same method mention on above .....
Repairing areas with the Clone Stamp tool


-In the Layers panel, make sure the Background layer is selected. This is the layer
you want to work with when you clone the bricks.
- Select the Clone Stamp tool ( ) in the Tools panel.

Finally done it ^^


have a nice day ^^

Thursday 7 July 2011

Activities of Pulau Payar Marine Park

There have some activities that we can do at Pulau Payar Marine Park. First we can have picnic with our family or friend. It is because Pulau Payar Marine Park management has provided facilities in this park include picnic table, barbecue pits, gazebos and restrooms. The purpose that Pulau Payar Marine Park has facilities is for the family gathering. Family can bring their member have picnic. Therefore, picnic is one of the best ways to connect and bond with your family. Besides that, we also can barbecue at Pulau Payar. Pulau Payar management has provided barbecue pits for the people that come over here. But they need to bring their own food come. This is because Pulau Payar management did not have provided. Other than that, we can view the beautiful scene sunset that Pulau Payar marine park during the evening time. Although picnics and camping are allowed, cutting of trees and open burning are strictly prohibited. This is because can spoil the environment of the Pulau Payar marine park.
           Other activities that can do at Pulau Payar Marine Park is camping. Tourist is not allowed to stay in the island. Yet camping is permitted prior permission obtained from Fisheries Department at Alor Star, Kedah. Camping is an outdoor recreational activity. Visitor can having their camping this is because they need to leave urban areas and having a rest. Other than that, visitor needs to bring their own stuff for the camping uses. The greatest benefit to camping is being able to go on vacation, relax and enjoy Mother Nature. If camping in the Pulau Payar Marine Park, the air is generally less toxic and polluted than in the city, which gives lungs a much-needed break from breathing in pollutants. Camping is a very economical way to have a fulfilling vacation without spending thousands of dollars. 
          Camping promotes family time and most campgrounds encourage family-based activities such as relay events, Chit-chat and playing some cards. Other event such as Campfires are a great way for families and friends to gather around a fire and get to know each other better with casual conversation as well as with campfire stories and memories of past camping trips. 


Sunday 3 July 2011

Digital Media -Layering~

now i using PhotoShop CS4 to starting my work......~ here are my step of layering

 Step1 : using "Move tool" to move MMU building into background image. ~

 Step 2: using the "gradient tool" to set as my background color .....select the layer of "overlay"

Step 3- use the "quick selection tool" to move out mmu logo into my A4 picture ~


Step4 - move the "A TM University" into bottom of my Picture

Step 5 - Use the "magnetic lasso tool " to crop the human and use the "move tool"  to move into the picture .~


Step 6- Use the "type tool" to type "FOM Open day 2010" ...the use the "move tool" move into the picture

Step 7- use the "gradient tool " to set the color of "FOM open Day 2010"


Final step - after using the "gradient tool" , layer change to Liner burn as it have the shadow of the word......

FINALLY
Finally, it done for my Layering ^^ :) 
have a nice day ^^


Friday 24 June 2011

E-wallpaper

This is my first time using CS4 to do Photoshop tutorial.....
During tutorial class i learn some skill of Photoshop .....

Picture1

 Picture 2

 Picture 3


 Picture 4

Picture 5


 this is the step and using some tool on CS4.....

Use the "Rectangular Marquee Tool" to crop & cut it into my background picture.


Final of 5 Picture ^^
 Have A nice daY ~

Monday 20 June 2011

Introduction

Hi, my name is Foo Siang Tee from Banting,Selangor
Currently Im study BBA (Hons) Management with Multimedia 
My Student ID is 1101109522
Im from section BC271B
Im glad that I have such opportunity to learn Digital Media
Adobe Photoshop, Dreamweaver & Flash....